Workspace Settings
This section allows you to manage and customize your workspace in Chartmat. It includes options for naming, setting up subdomains, linking custom domains, managing users, and integrating with external services.
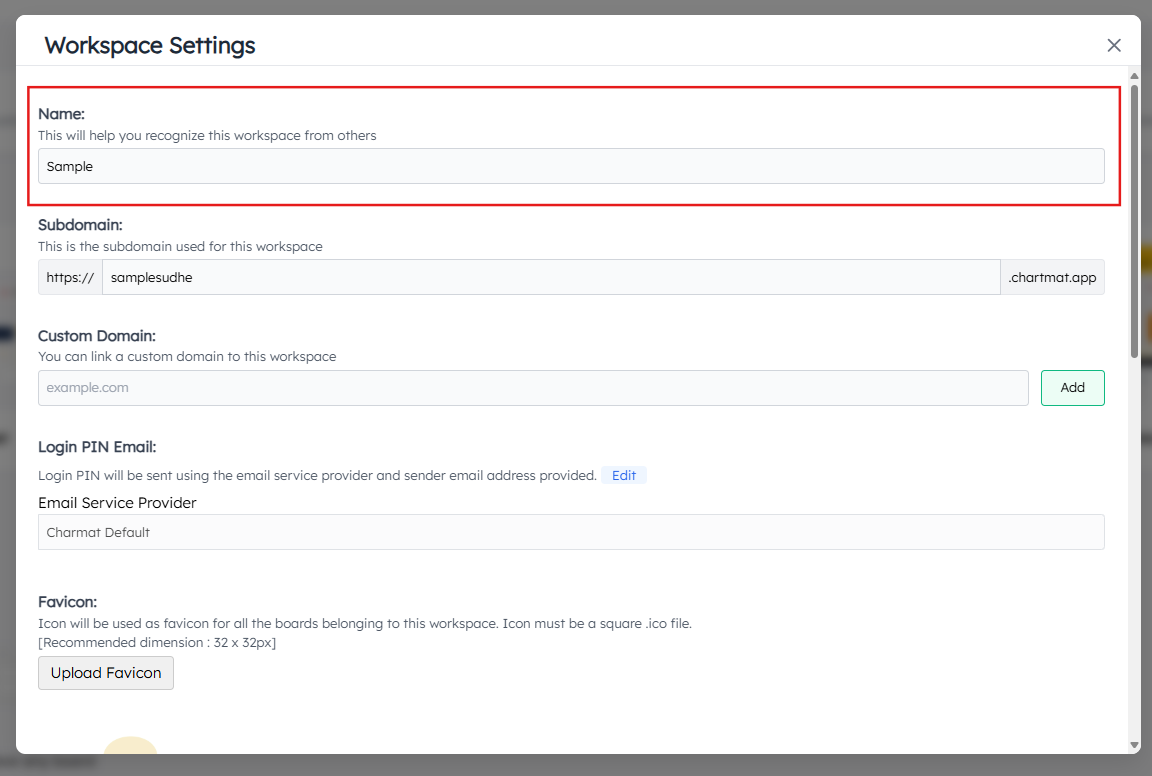
1.Workspace Name
Helps you identify this workspace among others.
Example: “Sample Workspace”
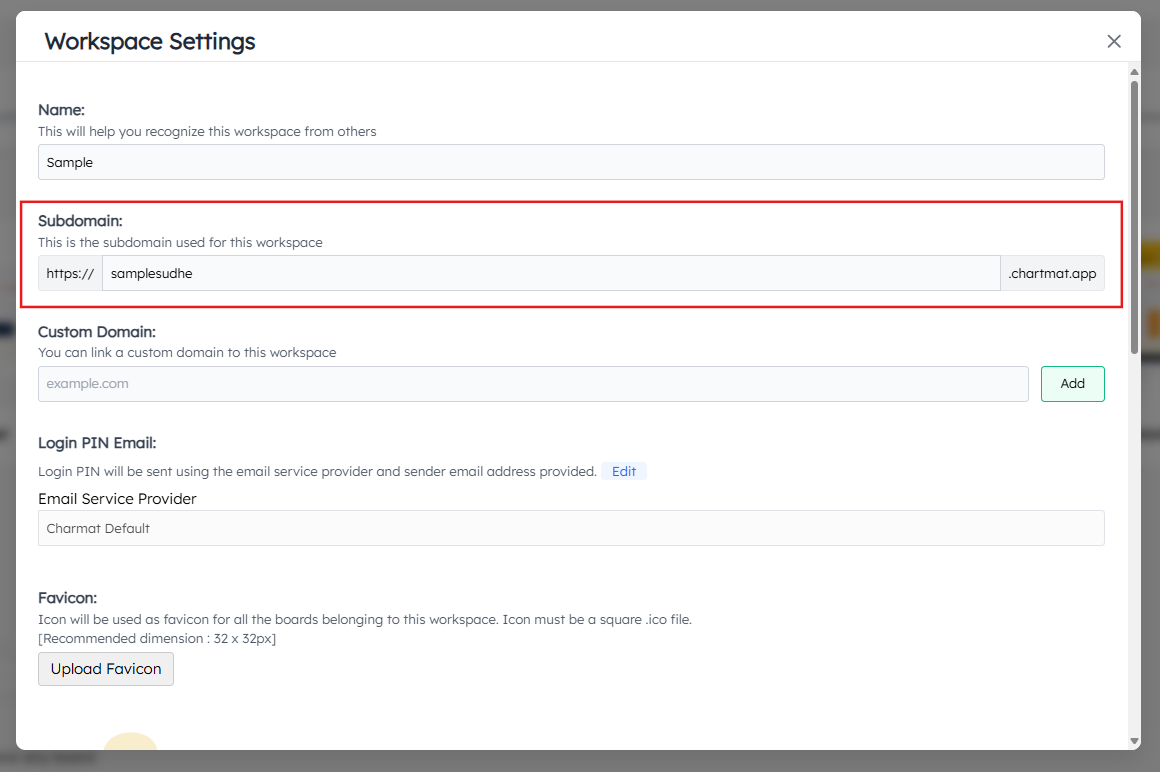
2.Subdomain
The unique subdomain assigned to this workspace.
Example: https://sample.chartmat.app
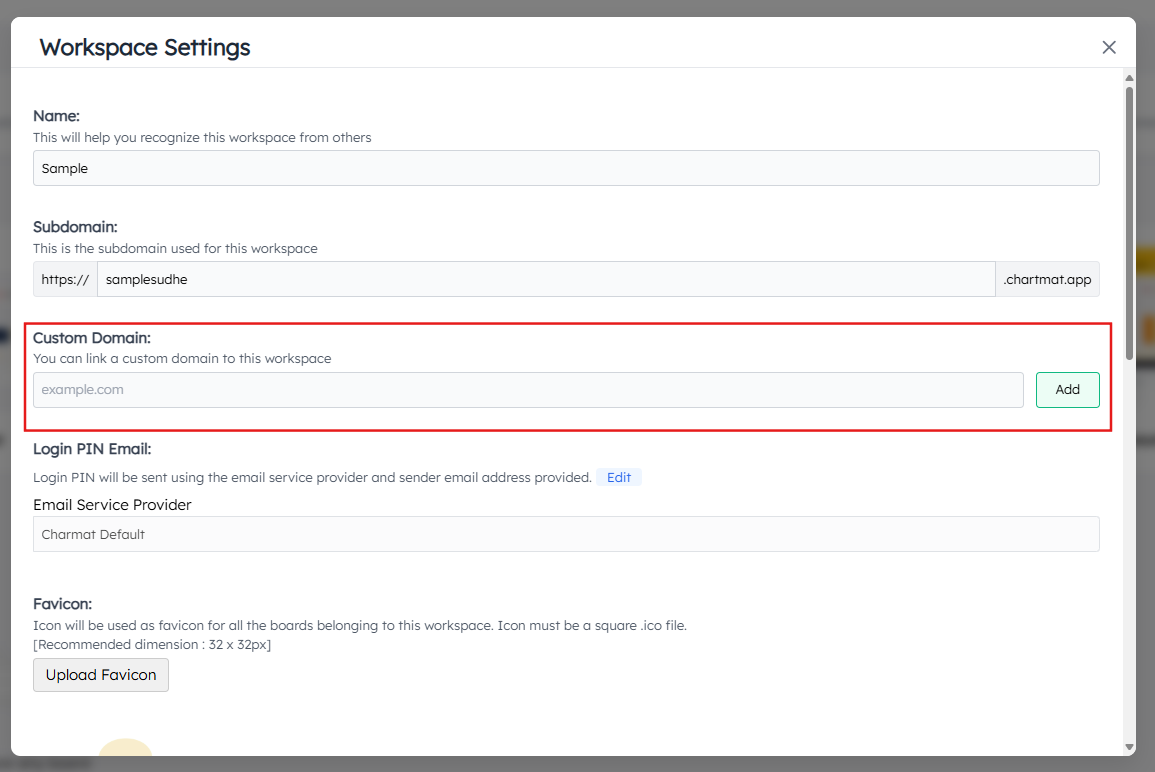
3.Custom Domain
Link a custom domain (e.g., example.com) to this workspace.
You can add a custom domain by clicking the Add button.
4.Login PIN Email
This section allows you to configure how Login PINs are sent to users, ensuring secure access to the workspace. You can choose between different email service providers to handle the delivery of these emails.
Chartmat Default:
By default, Chartmat uses its built-in email service to send Login PINs to users. This option requires no additional configuration and works out-of-the-box.
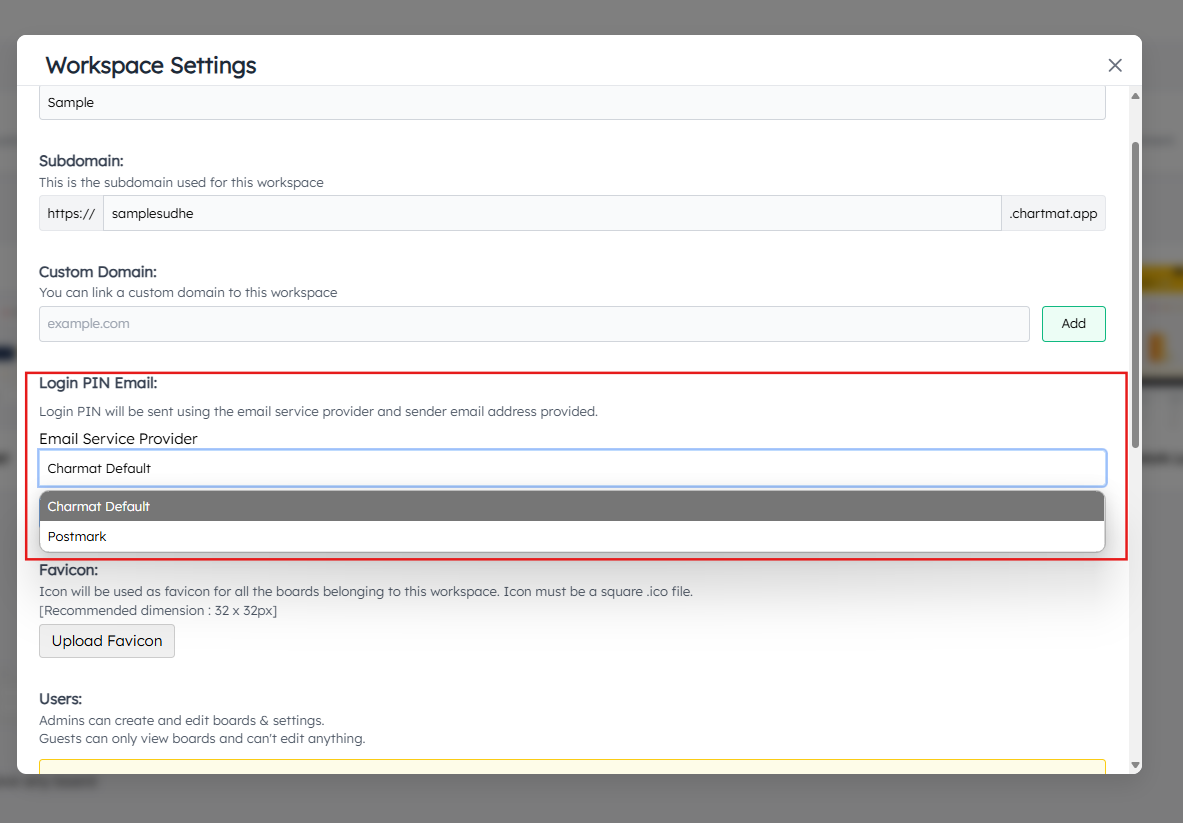
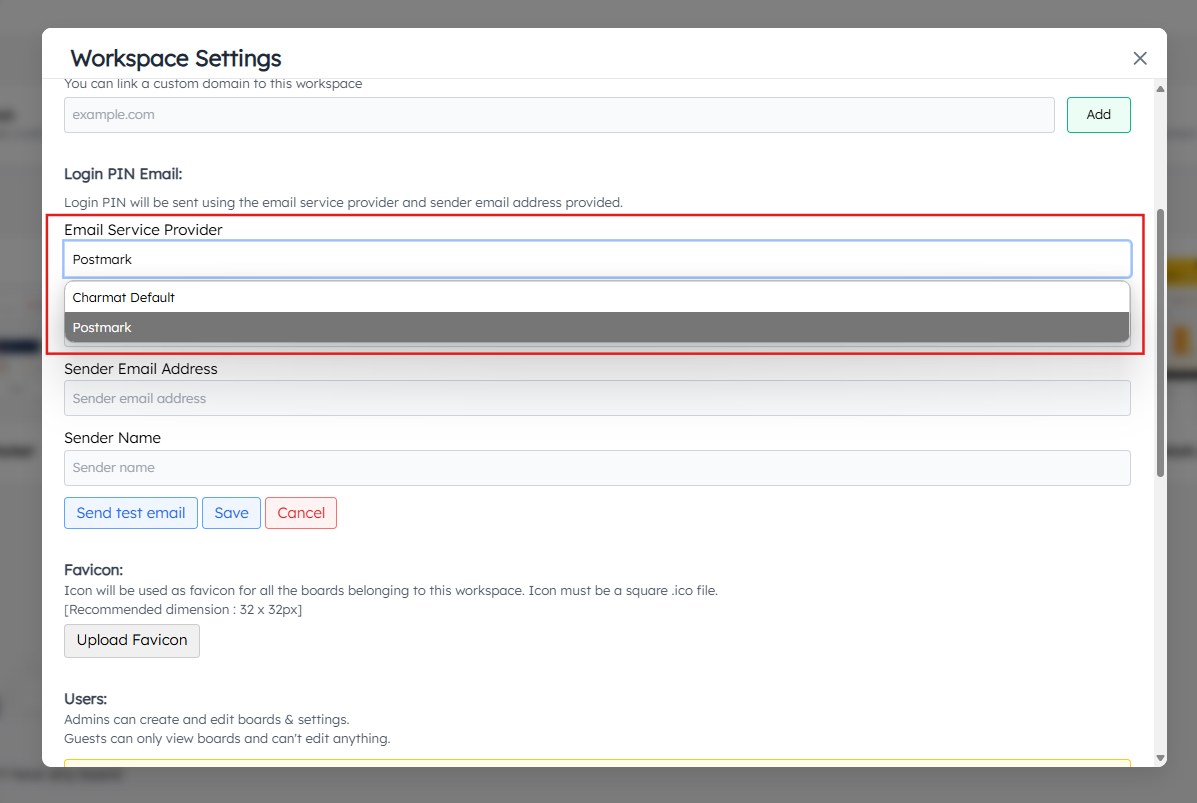
Postmark:
This section allows you to configure how Login PINs are sent to users, ensuring secure access to the boards. You can customize or change the email service provider settings by clicking the Edit button.
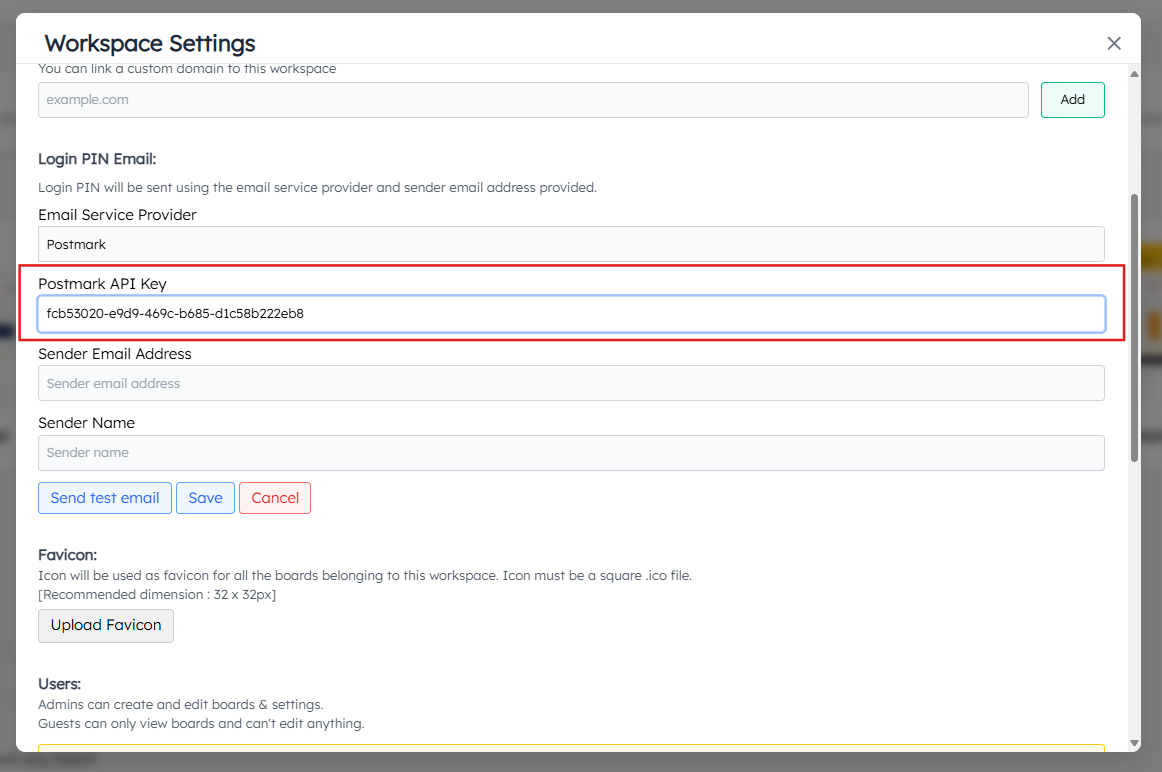
Postmark API Key:
Enter the Postmark API key provided by your Postmark account. This key allows Chartmat to authenticate and send emails via Postmark.
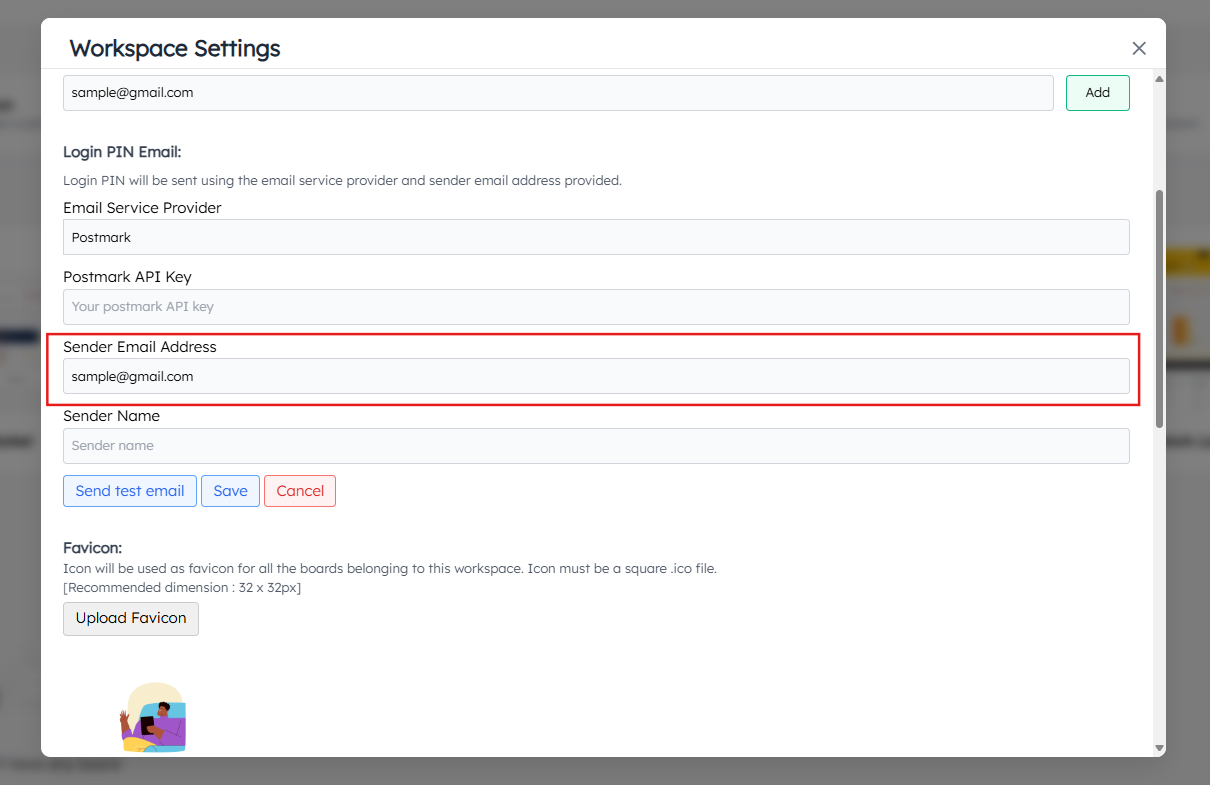
Sender Email Address:
Specify the email address from which the Login PIN emails will be sent. This will be the “From” address users will see.
Sender Name:
Enter the sender’s name to appear in the “From” field of the email. This can be your company’s name or any identifier for the workspace.
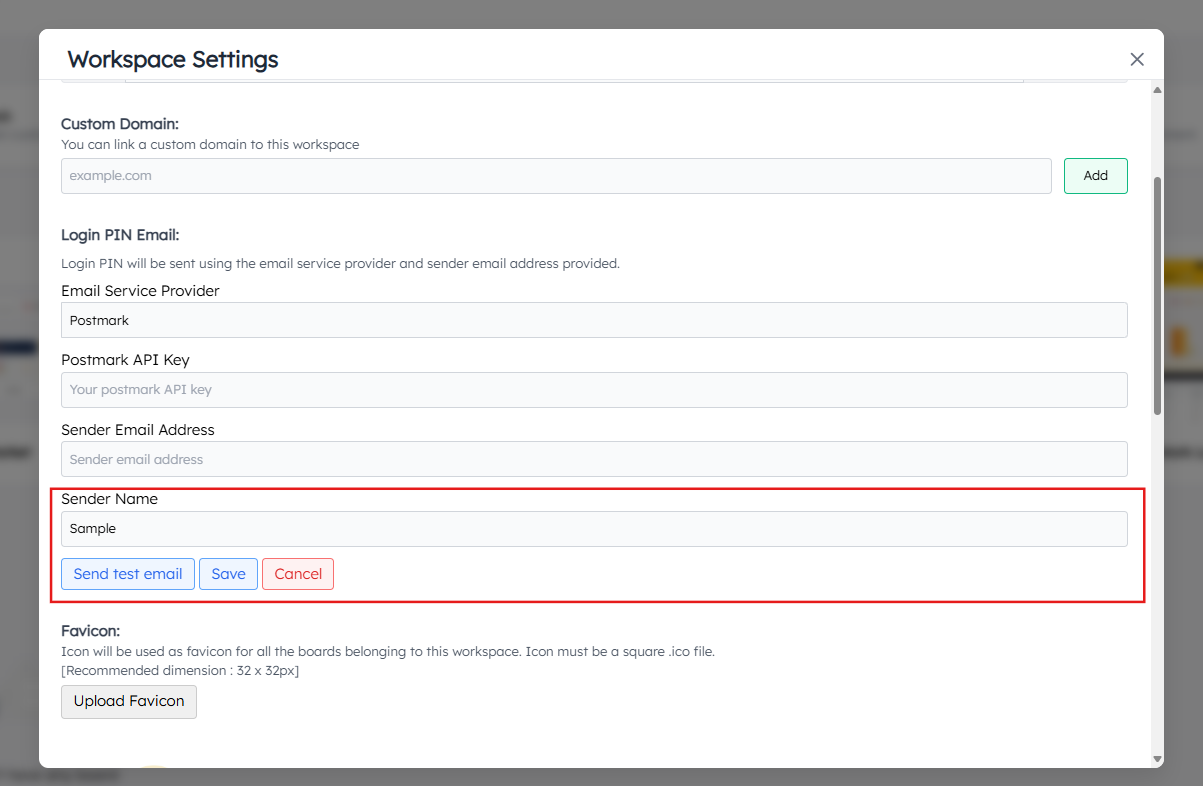
Once you’ve entered the details, you can:
Send test email to verify that everything is working correctly.
Save the configuration or cancel any changes.
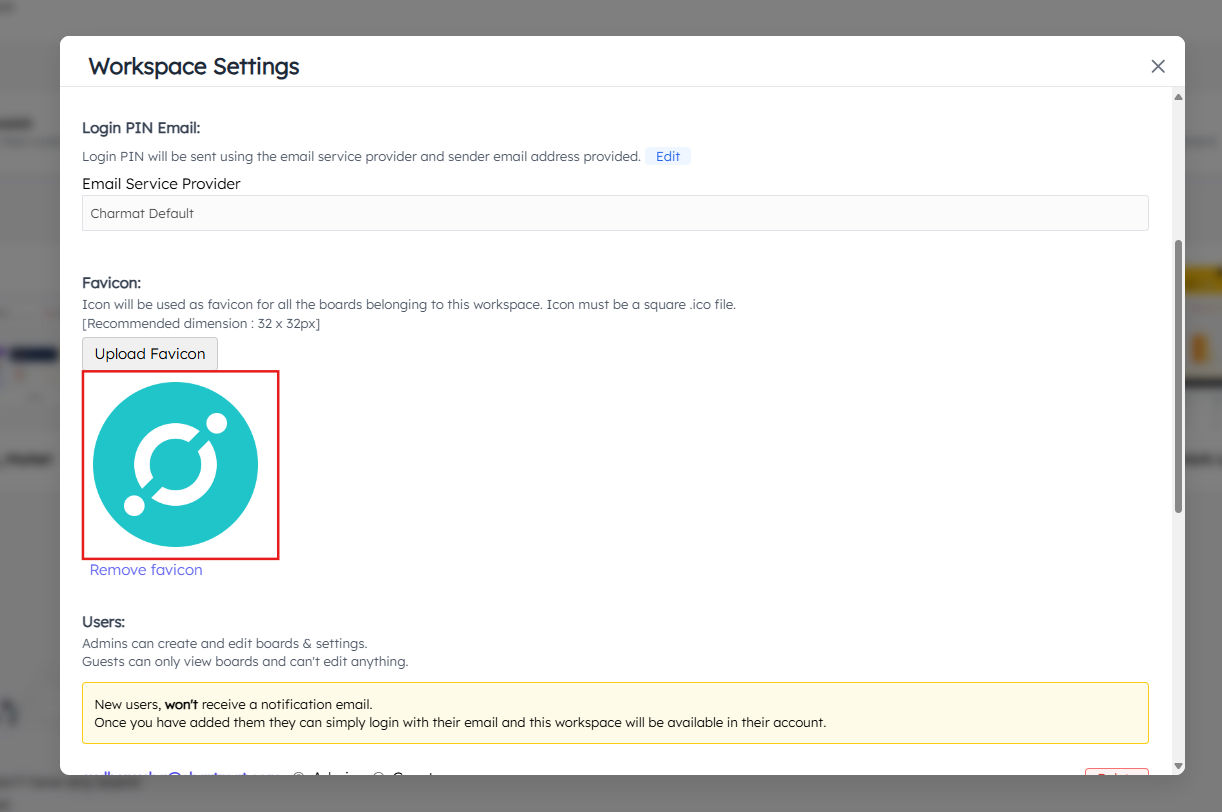
5.Favicon
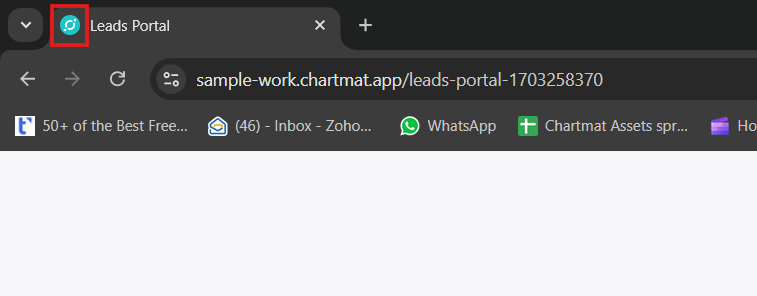
You can upload a custom square file (recommended dimensions: 32x32px) to set as the favicon for your workspace. The favicon will be displayed as the icon in the browser tab when you share a board from this workspace, helping users easily identify the workspace while navigating through multiple tabs.
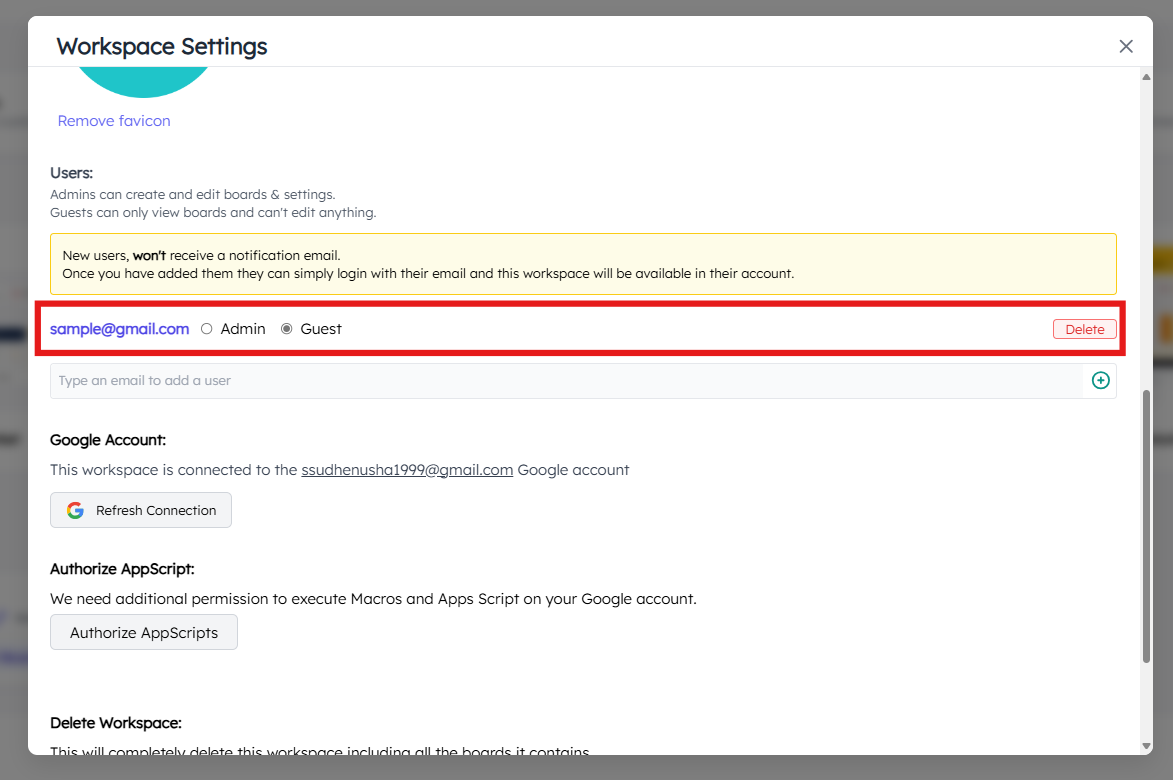
6.Users
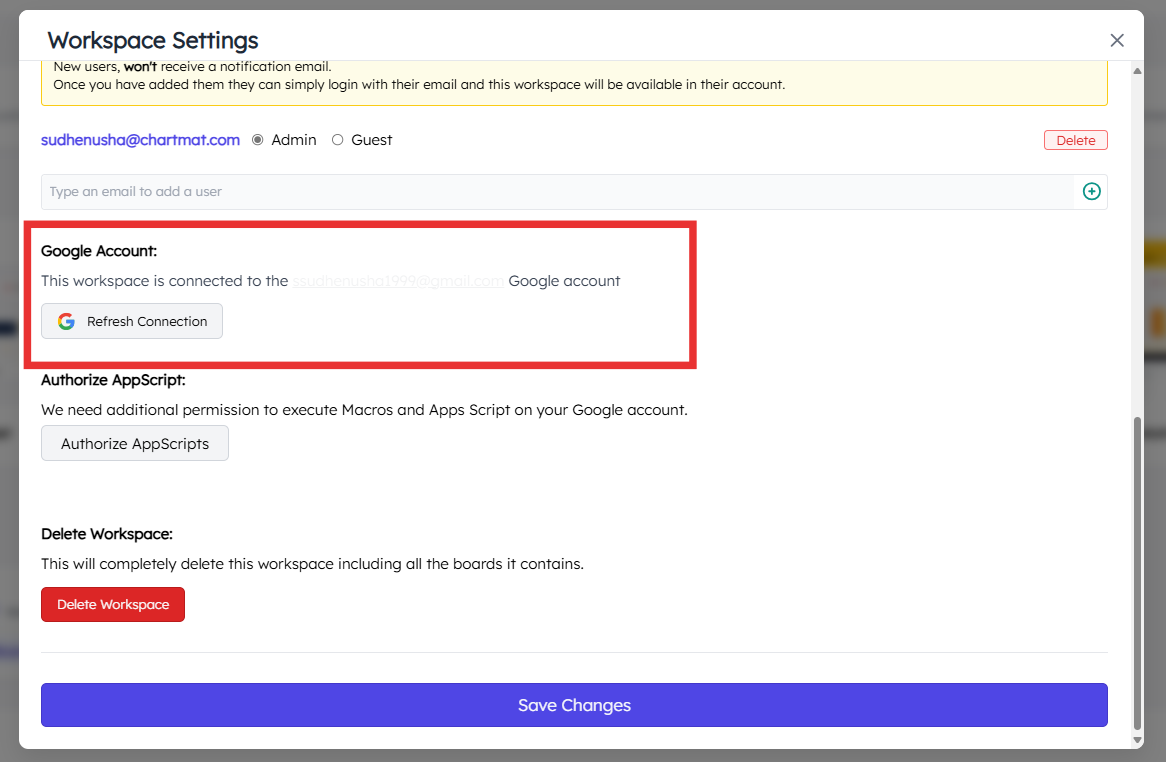
7.Google Account
This section displays the Google account connected to this workspace, which is used to access and interact with Google Sheets. You can refresh the connection to ensure continued access or update the linked account if needed.
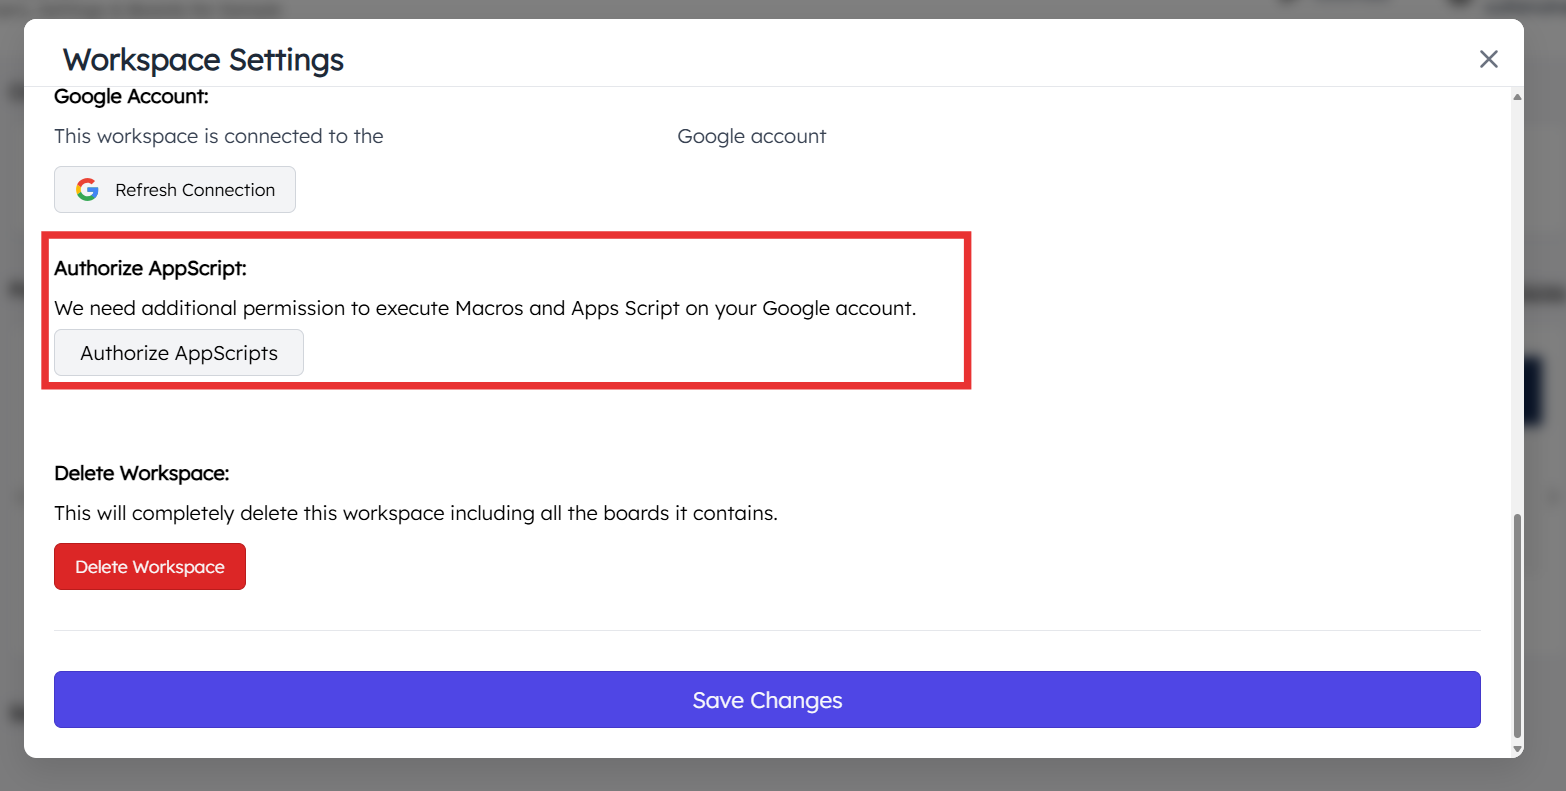
8.Authorize Google Apps Script
If you need to execute macros or automate tasks within your Google Sheets, you may need to grant additional permissions. By authorizing Google Apps Script, you allow the workspace to interact with your Google Sheets at a deeper level, enabling automated processes and macro execution.
Click Authorize Google Apps Script to grant the necessary permissions.
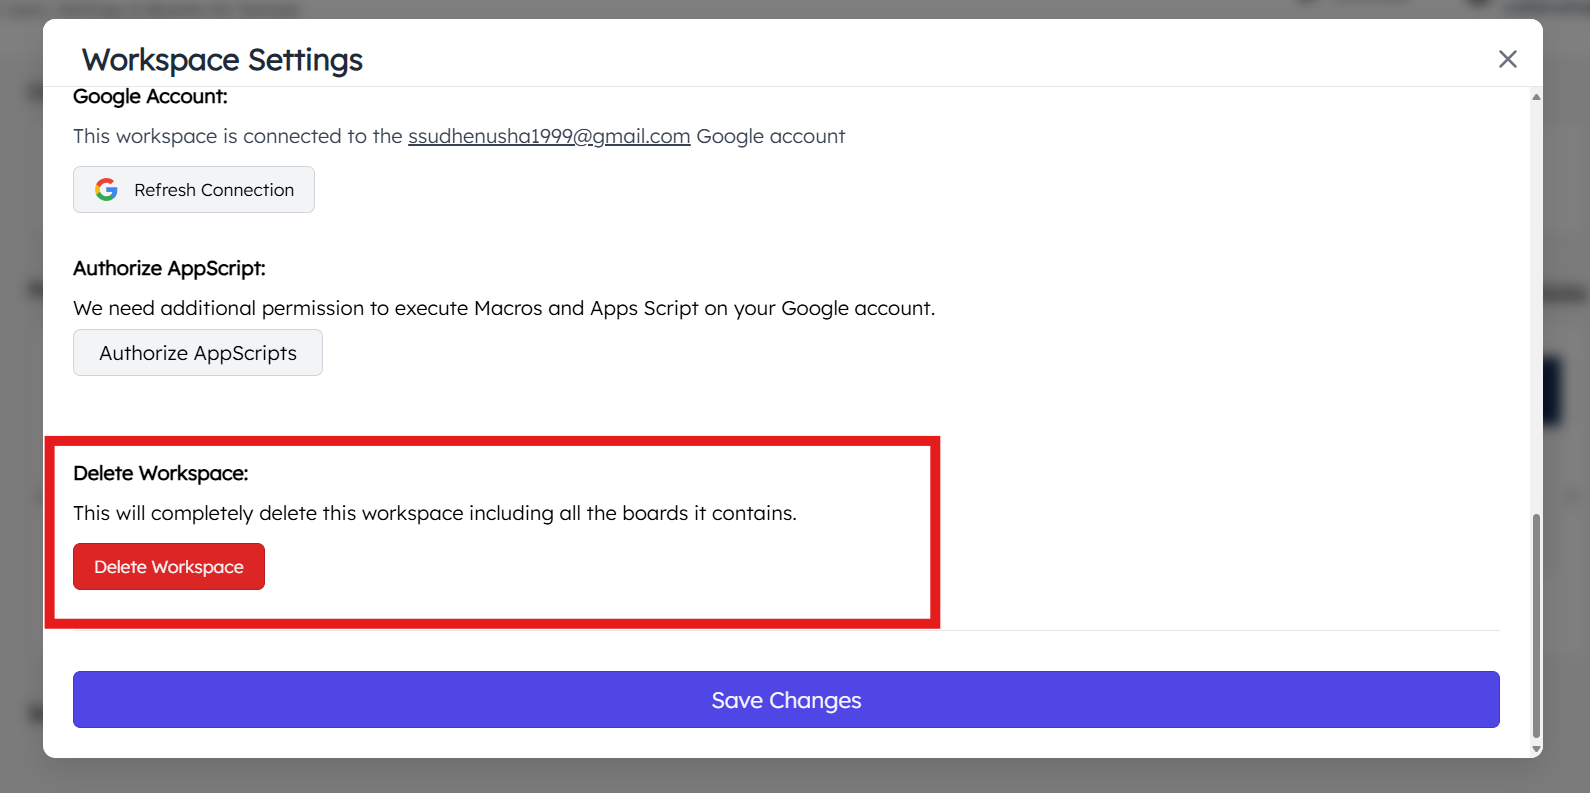
9.Delete Workspace
